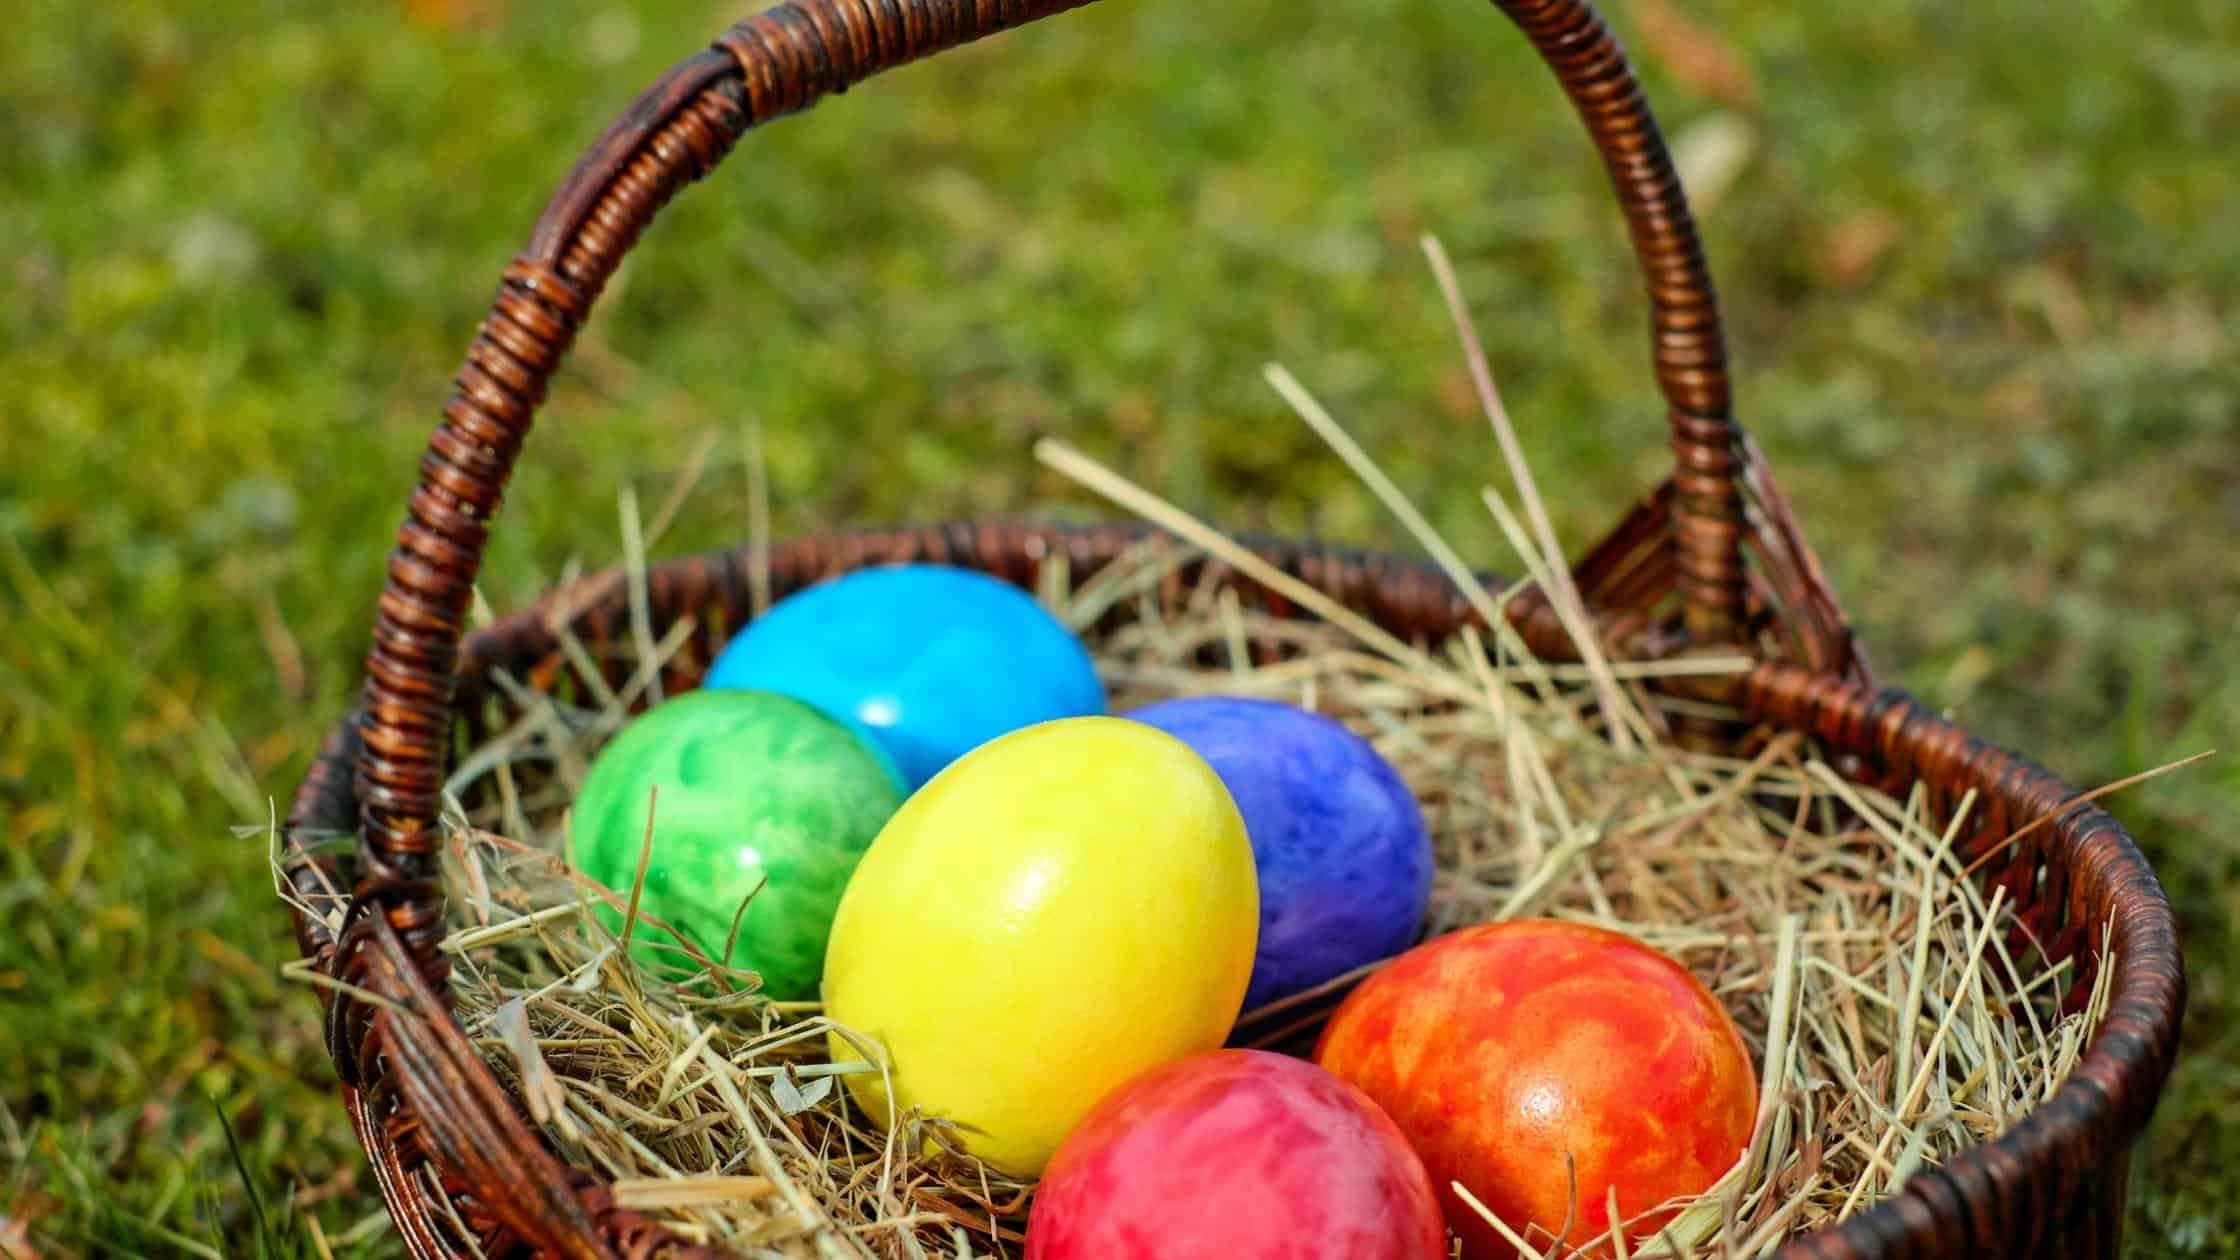
Coloring Easter Eggs is fun and easy and a great time for the whole family. If you have toddlers or young children under five then it can be a little more challenging, but we have put together some fun tips for you so you can have fun dyeing eggs together at any age!
Coloring Eggs With Toddlers: Tips For Mess Control
Toddlers love to help out! They want to feel included and to be part of the action. That’s great! But that can definitely lead to unwanted messes, especially when working with food coloring and other dyes. Here are some things to consider when preparing your Easter Egg dyeing station this year.
- Change of clothes
-
-
- Have your toddlers wear old or soon to be outgrown clothes for this activity. Dye can easily get all over their hands and therefore all over every scrap of clothing they are wearing. Make sure the clothes are ones that you feel comfortable either throwing away when you are done or leaving aside as permanent “painting and crafting” clothes.
-
- Cover your work area before breaking out the dyes
-
-
- Make sure that you put a tablecloth or other plastic barrier down on the coloring station before the action kicks off. This will help keep errant food coloring spots to a minimum and make cleanup much easier.
-
- Set up your drying station first
-
-
- Setting up your drying station first helps you get some much needed peace of mind before everything gets wild when the coloring begins. Set aside some extra egg cartons upside down and place the freshly colored eggs on top to help them stay dry and out of the way. If you don’t have any egg cartons handy, you can put a few wooden kitchen spoons side by side on a dinner plate and gently place the wet eggs between them like they were train tracks. That will help you keep them dry and stable in a pinch!
-
- Create your own dyes
-
-
- You really don’t need a lot of fancy gear to make spectacular and fun Easter Eggs! Just get three or four wide mouthed bowls or mugs and fill them about half way with room temp water then add one to two tablespoons of white vinegar followed by 10 to 20 drops of food coloring. There you have it! Your egg dyeing station is ready. Keeping it simple also really helps when working with younger kids as they are just happy to be part of the coloring process and don’t need complex “artsy” egg coloring schemes to have an absolute blast.
-
- Transferring the eggs
-
- You can use whisks or pasta spoons to place the eggs in and out of the dyeing baths. Your choice!
Parting Thoughts
Dyeing Easter Eggs can be a fun and easy project for you to do with your little ones that will help you all make wonderful happy memories to last a lifetime. Enjoy! And don’t forget to share pictures of you all having fun on our Facebook page. We can’t wait to see them.
If you have questions about your infant or child’s sleep, please reach out here! We would love to help!
![]()
